Adjusting Trailer Electric Drum Brakes
3rd May 2023
Electric drum brakes are commonly fitted on most caravan and camper trailers due to their affordability and basic design. In this CruisemasterClass we will take a look at electric drum trailer brakes, how they work, adjusting them on your caravan or camper and maintenance tips.
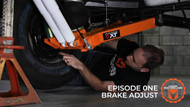
Cruisemasterclass Episode 1: Trailer Brake Adjustment
Adjusting electric drum brakes
When talking about adjusting electric brakes we are referring to adjusting the brake shoes within the drum. As brake shoes bed in when you first get them and wear during use, you will need to adjust them regularly to ensure they have the right clearance.
How do you adjust electric drum trailer brakes?
Electric drum trailer brakes can be adjusted by using the star adjustment wheel to change the clearance between the shoe and the drum. This adjustment mechanism gets longer when adjusting one way (pushing the shoes closer to the drum) and shorter when adjusted in the opposite direction (moving the shoes away from the drum).
Below is a step by step guide on adjusting electric brakes. For demonstration purposes we have used the Cruisemaster All-Terrain Electric Brakes however, as all electric brakes are made different it is best to consult the users guide or manual for your specific brake before you start.
What do you need to adjust trailer brakes?
In most cases to safely adjust electric drum trailer brakes you will require the following equipment:
- Bottle or Trolley Jack
- Jack or Axle Stand
- Brake adjustment tool (can substitute with a flat bladed screwdriver)
- Wheel Chock
Step 1: Jack up the trailer arm
Raise the trailer until the trailer wheel is able to be moved and spun freely. Then using a jack or axle stand to secure the trailer.
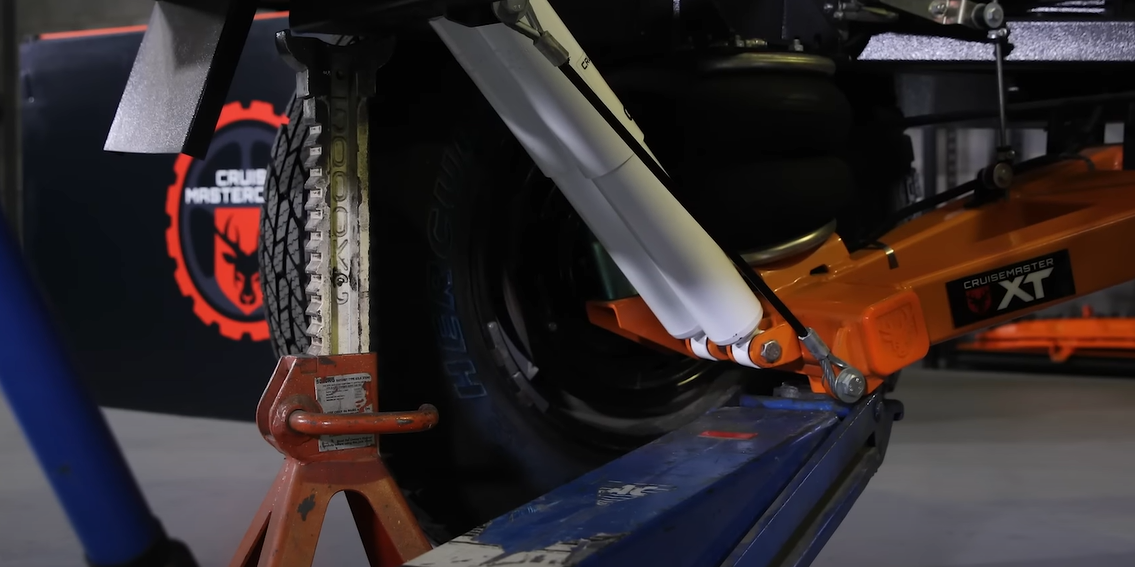
Note: Make sure to jack the trailer on a flat, level surface with a chock under the wheel opposite to that you are adjusting to stop the trailer from moving. If the trailer is fitted with a handbrake ensure this is disengaged.
Step 2: Remove the dust cap
Remove the adjuster dust cap to access the star wheel, if this is difficult to complete by hand, it can be done with a screwdriver.
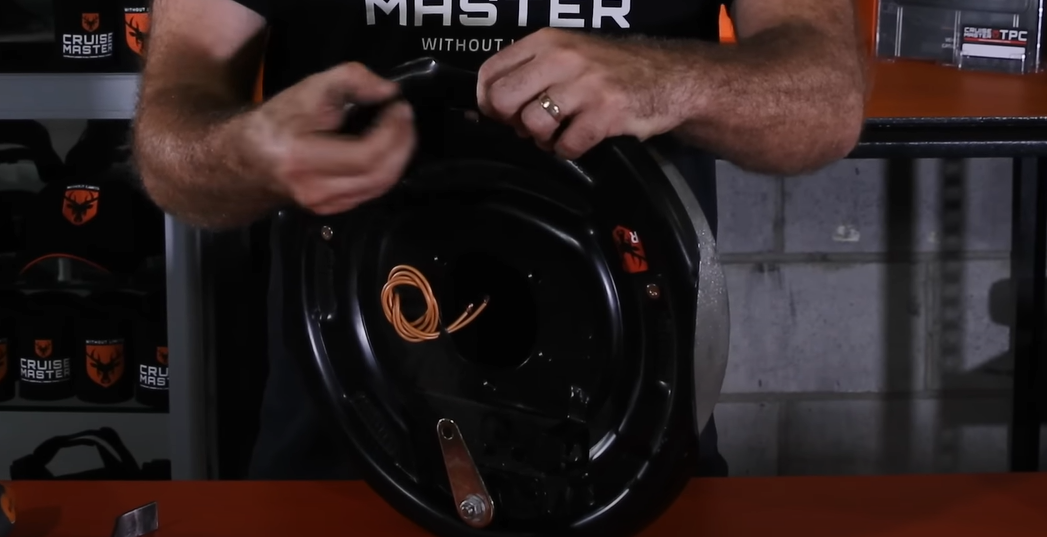
Note: Not all brakes are fitted with dust caps.
Step 3: Adjusting Shoes
Using the brake adjustment tool, start by rotating the star wheel inside of the hole from the outside of the brake drum towards the centre of the axle, repeat this until you feel the shoes start to bind.
Once completed the wheel will not easily move and will be firm when you attempt to spin it.
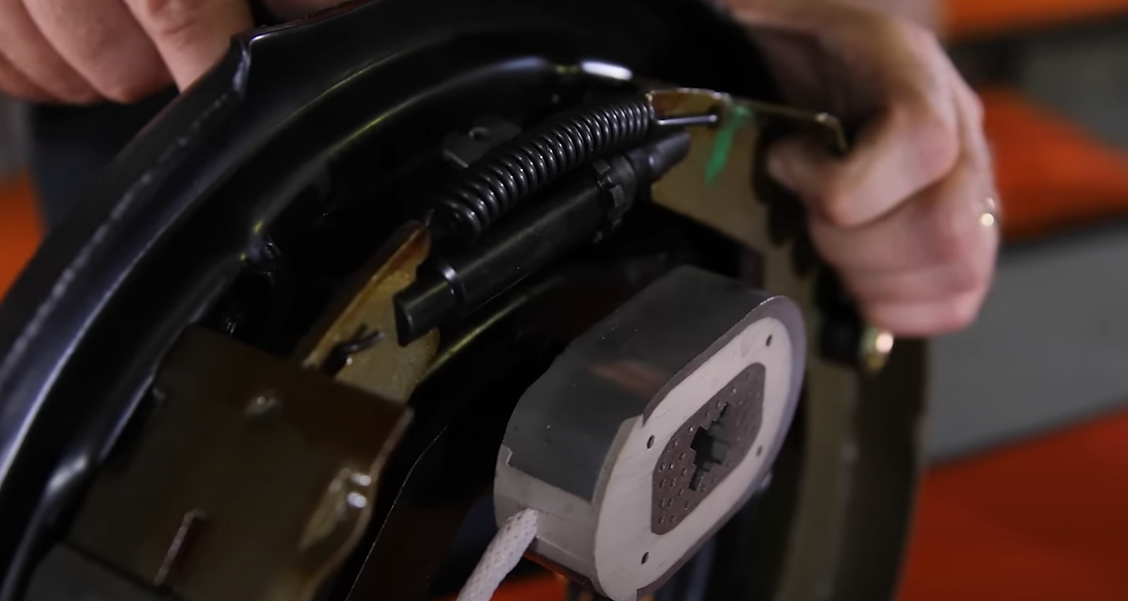
Step 4: Axle to Drum
Next you will reverse this action and turn the star wheel approximately 8 to 10 clicks in the opposite direction, from the axle towards the drum.
The goal is to have the shoe correctly positioned with the wheel able to freely move without signs of dragging.
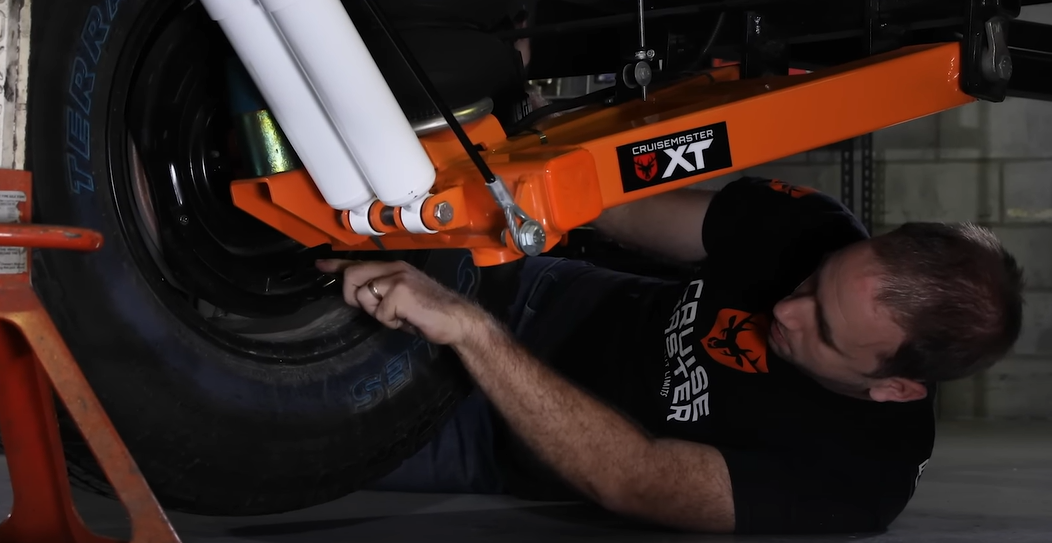
Note: This adjustment method is tested on the Cruisemaster electric drum brakes and may not be suitable for all brands of electric drum brakes on the market. Make sure if you are using alternative models that you consult with the owners manual prior to starting.
Step 5: Re-install Dust Protector
Once done, re-install the dust protector to keep the brake drum free of containments.
Step 6: Repeat
Repeat this process for the remaining drum brakes until all brakes have been adjusted.
Signs Electric Brakes Need Adjusting
Some of the most common signs that your electric drum brakes require adjusting include weak or no brakes, dragging and noisy brakes. Although these issues are possible causes of poor brake adjustment, they can also be signs of other electric brake issues such as electrical issues or worn parts.
For a more detailed list of possible trailer brake faults and their possible causes make sure to read our customer information sheet on electric brakes.
How often do you need to adjust electric trailer brakes?
With general use, trailer brakes should be checked and adjusted in accordance to the table below. If your caravan or trailer is new it will require more frequent initial checks and adjustments to ensure they are correctly operational.
Alternatively, if your trailer is subject to more extreme use make sure to increase these intervals or inspect as soon as you experience any issues.

Cleaning & Inspecting Trailer Brakes
Another important aspect of trailer brake maintenance is inspecting and cleaning. Areas that will require cleaning include the backing plate, magnet arm, brake magnet and brake shoes.
Magnets and shoes must be changed as they become worn or scored to prevent inadequate vehicle braking. Make sure to inspect magnet arms for any loose or worn parts and shoe return/ adjuster springs for any stretch or deformation and replace if required.
Make sure if you are cleaning multiple brakes that all parts are replaced into the same drum they were removed from.
Note: Some older brake shoe friction materials are known to contain asbestos so make sure you are taking adequate precautions when servicing.
For more caravan and towing tips, make sure to keep an eye out for the latest episodes of our Cruisemasterclass series by subscribing to the Cruisemaster YouTube channel and following us on Facebook & Instagram.
***disclaimer***
"This guide is intended to educate users on their caravan/ trailer components, any major servicing work should be carried out by a trained professional. Cruisemaster doesn't accept any liability on the information from this guide leading to damage of good or injury"

